

TOOLS & MATERIALS:
- New interior door the same size (length, width, depth) as your old one
- New interior door knob (opt)
- Drill
- Door-knob installation kit with appropriate hole-saws
- Screw-driver & appropriate bits
- Router
- Sharp chisel & hammer
- Carpenter's rasp
- Hand planer
- Sand-paper
- Carpenter's square
- C-Clamps (at least 2)
- Pencil
- Measuring tape
- Pliers
PROCEDURE:
STEP 1: Remove Old Door-Knob
Start by removing the door knob. Use your screw-driver to un-screw the screws at the base of the door knob (will typically be on one side). Once the screws have been removed, pull apart the door-knob on either side of the door (should come right out). If you plan to re-use your old door-knob, place it to the side with the accompanying screws.

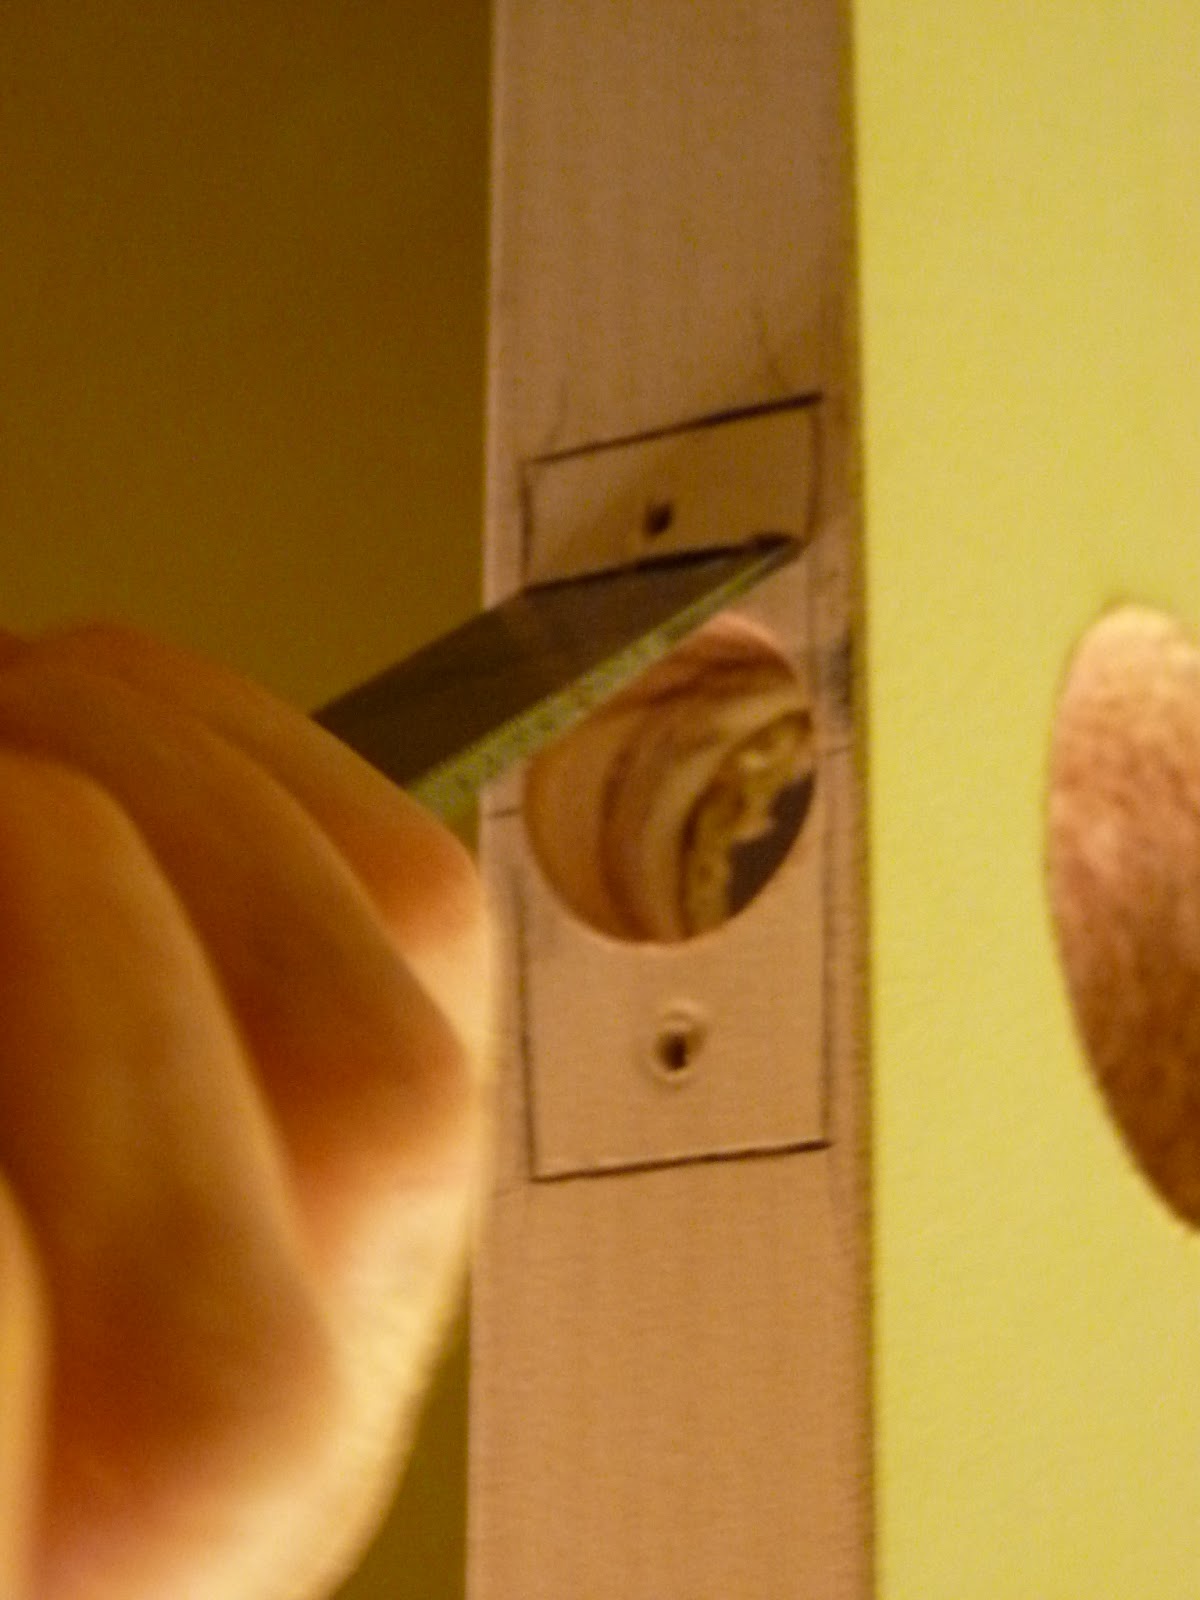
Next you will need to remove the interior mechanism of the door-knob. Slip a long screw-driver (or other long, skinny metal object) into the hole in the middle of the mechanism, place the door in between your feet, grasp either side of the screw-driver and gently tug the mechanism free from the door. Again, if you intend to re-use your old door knob, place the mechanism to the side with the other parts.

 |
| This one was a little stiff, so my Dad used a hammer to knock it free. |
STEP 2: Remove The Old Door
Open the door fully in order to expose the hinges securing the door to the door-jamb, and remove the hinges from the door with your screw-driver (leave the one side attached to the door-jamb). Set the screws to the side for re-use later on.

STEP 3: Mark Hinge Placement On The New Door
Mark the top of the old door, so you know which way is up (this is particularly necessary on flat door slabs like the ones we were replacing).
Lay the old door on top of some saw-horses (or something else that can hold them up, level and flat for you), and lay the new door directly on top of the old door, top to top, bottom to bottom. Align all of the edges of the new door to be as flush as possible with the edges of the old door (the most important edges to have flush will be the top and the side with the hinges). Clamp the doors in place at the top and the bottom.

 |
| Use a small carpenter's square to help you align the edges. |
 |
| Use a piece of scrap against the new door when clamping so as not to damage the new door. |
 |
 |
 |
 |
| Make sure the distance from the outer edge of the hinge to the outer edge of the door is the same on the new door as it is on the old door (again, precision is important!) |

STEP 4: Router Out The Spots For The Hinges
Set your router depth to the thickness of your hinge:

Starting on the outside edge of the new door on one side of your hinge mark. Follow the outline of your pencil mark with your router. Go as far as the middle of the bottom, then start again from the outside edge on the other side and meet up with where you left off on the other side.
 |
| Position your router tip on the inside edge of your pencil mark. |
 |
| Pull the router along the inside edge of your pencil outline until the middle of the bottom edge of the hinge outline. Stop. |
 |
| Repeat the same process this time from the other side of the hinge outline. Meet where you left off on the other side and stop. |
Once you have the outline of the hinge cut out with the router, go ahead and use the router to clear out the rest of the spot for the hinge. When you're finished it should look like this:

Place the hinge in the space you have created for it to make sure it fits properly. Make sure the hinge is flush with the edge of the door. Clear away any rough edges with sandpaper, and make any other necessary adjustments to ensure a good fit.

Repeat the whole process for the other hinge!
*TIP* We free-handed this process, but you can buy a hinge-template for your router which you can attach to your door and follow with your router. This can help ensure greater accuracy and cleaner edges when cutting out the spots for the hinges.
STEP 5: Secure The New Door Into The Door-Jamb
Once you have finished cutting out the places for your hinges on the new door, un-clamp the doors. Position the new door into the door-jamb and attach in place by securing the hinges into the new door with screws:
 |
| You may want to create shims out of pieces of scrap to help you hold the door in position. |
 |
Get excited - but not too excited, you're not finished yet!
STEP 6: Ensure Door Fits the Jamb Properly
Gently close the door. If it closes easily and without effort - you're good to go! If it seems to be catching, sticking, or requires effort to close, carefully inspect the outside edge of the door, where it meets the door-jamb. Look for where the door is stuck, or rubbing against the door-jamb.
 |
| Look along the outside edge of the door. If you can see a slight crack of light coming through - that spot is okay. If you see no light coming through - that spot is too tight. |
In this case, the bottom edge of my door was too tight, and was catching on the door-jamb. If this happens to you, mark the area where the door is catching:

Use a carpenter's rasp to very gradually shave down that area of the edge of the door. Check frequently by closing the door to see if you have been able to rectify the problem. Keep rasping until the door no longer catches.

*TIP* If the entire edge of the door is catching - you may want to use a hand-planer to shave down the entire outer edge of the door.
Once the door closes easily and without effort, use some sand-paper to smooth the edge.
*TIP* Remember that you will have to retouch the areas on the door that you have altered with paint, and this will add thickness to the edge of the door - so you may want to sand down the area a little bit more to compensate for the thickness of the paint.
STEP 7: Install The New Door-Knob
Start by replacing the metal plate for the door mechanism in the door-jamb. Hopefully, the new plate will be the same shape, size and thickness as the old one, but if it's not you will need to use your chisel to carve out a more appropriate spot in the door jamb. What's important about this is that the plate is flush with the edge of the door-jamb (if not, your door will catch on it).

With the plate successfully installed, close the door, and mark the center of the plate onto the side of the door:

Open the door and use your square to mark the outside edge of the door:

This next part of the process can be free-handed, but I would suggest saving yourself a world of trouble by purchasing one of these door-lock installation kits available at any hardware store:

Position the door-lock template from your kit on your door (centering it on your mark), and secure in place according to directions:
 |
| Place template on door. |
 |
| Center on your mark. |
 |
| Secure the template in place according to instructions (mine was secured with screws). |


Next, you'll need to drill the hole for the door mechanism by using the smaller hole-saw in your kit on the outside edge of the door:


Remove the template, and position the plate for the edge of the door (different from the plate for the door-jamb) over the hole on the edge of the door:

Hold the plate in place and trace the edges onto the door with your pencil:


*TIP* My Dad probably couldn't emphasize to me enough how great it is to have a nice sharp chisel for this next part.
Use your chisel and hammer to carve out the spot for the plate in the edge of the door:
 |
| Begin by hammering your chisel straight into the door along your pencil line to cut the outline. |
 |
| When you have the outline cut with your chisel, position your chisel flat against the door at an angle and gradually shave away the inside to the thickness of the plate. |
Next, you will want to insert the door-knob mechanism into the door through the hole in the edge, place the plate over it and see if it will be flush with the edge of the door once screwed into place. If all is good, go ahead and secure the plate in place with screws. If it's not quite flush, remove the plate and the mechanism and shave away a little more from the door with your chisel.
 |
| Insert the door mechanism. |
 |
| Position the plate over top of the door mechanism, and check to see if it's flush with the edge of the door. |
 |
| If all is well, go ahead and secure the plate to the door with screws. |
Now you can finally install the actual door-knob! Poke one side of the door-knob through the side of the door (going through the mechanism inside the door) and join it to the other side of the door-knob. Secure the door-knob in place at the base with screws.


STEP 8: Check For Door Rattle
Ha! You probably thought you were done, but there's just one last thing! Close your door and check to make sure that everything is closing and opening properly. If your door-knob isn't turning properly take it apart and check to make sure you have it installed properly. If the door is catching, check to make sure your metal plates are flush, and that there isn't a part of the door that is still rubbing against the door-jamb.
Last, but not least check to ensure that your door closes effortlessly, but also firmly and securely. If there seems to be a slight "rattle" when you close it, here's what you need to do to tighten it up:
Remove the metal plate from the door-jamb and use a pair of pliers to bend the little metal tab inside the hole outward a bit.


Replace the plate on the door-jamb, and try closing the door again. Hopefully the rattle will be gone, but if it's not, remove the plate again and repeat the process until the door closes with no rattle.
STEP 9: Touch Ups
Very last of all go over your door, jamb, and trim, cleaning up any saw-dust, erasing any pencil marks, filling any cracks/holes, smoothing any rough parts with sand-paper, and touching up any spots that need paint.
STEP 10: CELEBRATE!!! (my favourite part)
Stand back, admire what you have accomplished, and marvel at the difference your new doors make to your home!

