My Best DIY Home


We collect the best do it yourself images. All the images are collected from Pinterest. If you have images that is originally owned and if you want to shut it down, please contact with us at with your ownership proof, we'll take action shortly.


Painting Furniture

When designing a space on a tight budget, giving 2nd-hand furniture a new life and identity with a fresh coat of paint is a great money-saving option. Here are some tips for best results:

1. Ensure that the furniture is structurally sound, or can be made structurally sound. Paint isn't going to fix broken.


2
. See the furniture for what it can be, and not what it currently is. As long as the function, shape, form, and lines of the furniture fit into your design plan, paint will work wonders with it. Have a plan for the furniture before you get started.


3
. Remove the furniture's hardware (pulls), and give the entire surface a light sand ideally using an electric palm sander. When painting furniture you don't need to completely remove the existing surface, you just need to rough it up a bit so that your paint will be able to bond well with the surface (this is particularly true of pieces with an existing hard, glossy finish). When finished, remove dust and wipe furniture clean with a damp rag.


4
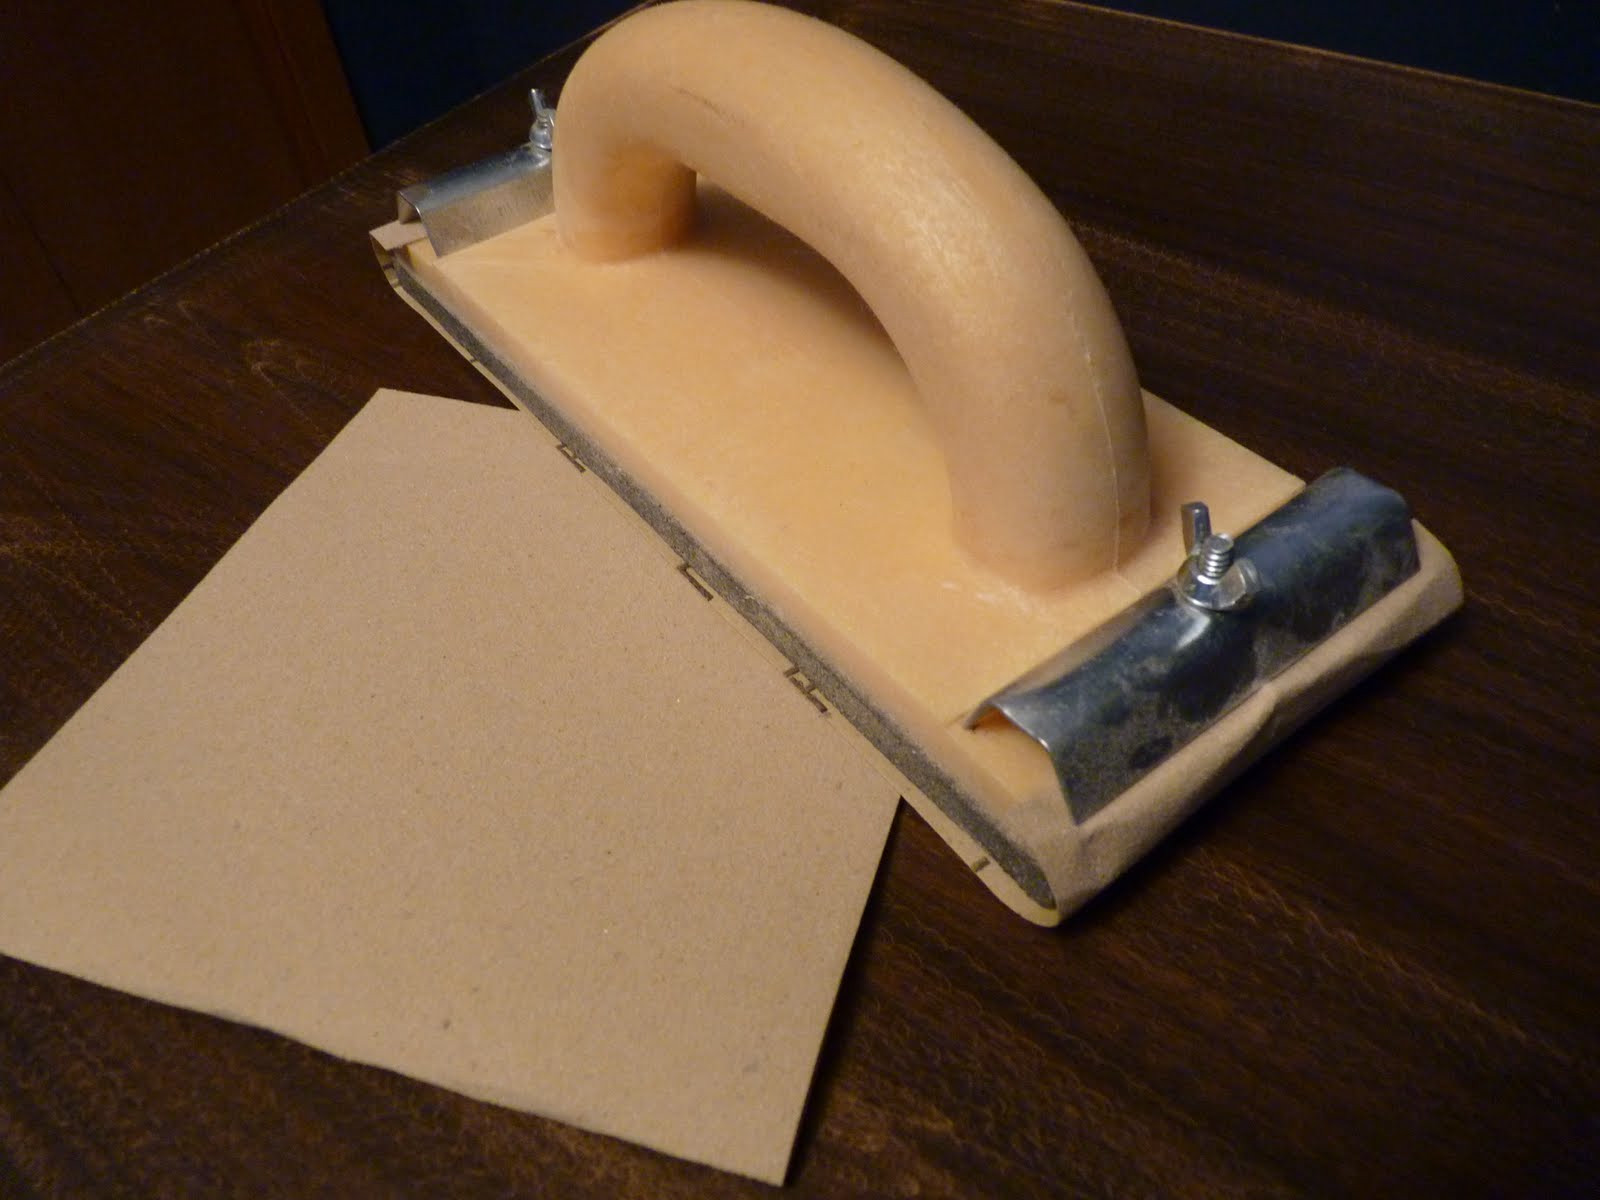
. If changing the furniture's hardware to something very different, use a putty-knife and drywall mud to fill the existing holes and allow sufficient time to dry. This process may need to be repeated until the hole is flush with the surface. When the mud is sufficiently dry, use a sanding block with a light grade sand paper to sand the mud spots, ensuring that they are flush with the surface, and any excess mud is removed.


5
. Apply 1 coat of primer to the entire surface of the furniture. Using a good quality primer first will save you time and money by improving your coverage, and helping you to avoid unnecessary coats of paint (especially with extreme contrast changes, such as in this example). Choose a primer which offers stain-blocking properties and will adhere to a glossy surface.
I prefer to use a foam roller when painting furniture. It is fast and easy, and gives you a smooth, even finish. Use a brush for corners and tight spots which are difficult to get at with the roller. Be careful to keep your strokes even, feathering your edges and watching edges and corners for drips. Allow 24 hours to dry.


tip:
If you notice a number of cracks and gaps in your furniture after priming it, use DAP to fill them.


6. Apply at least 2 coats of paint (if changing to a darker colour), or 3 coats if going to a lighter colour using a good quality paint with a semi-gloss to high-gloss finish. I recommend using a high-gloss finish when painting furniture and cabinetry, simply because it results in a very durable surface, which wipes clean much more easily. As with the primer, use a foam roller and brush, being careful to keep your strokes even, feathering your edges and watching edges and corners for drips. Ensure that paint has sufficient time to dry thoroughly before applying the next coat (at least 30 mins to 1 hr). When finished, allow at least 24 hours to dry before handling the furniture (this will avoid chips and scratches which can easily occur in paint that is still soft).


tip:

If you want to save your roller in-between coats, wrap it in a plastic bag, sealed tightly at the handle.


7.
When paint is sufficiently dry, use a pencil and ruler to carefully mark the position of the new hardware. Ensure that your marks align horizontally, vertically, and from the edge of the furniture.


tip:
In the case of this example, I replaced the drawers before making my marks to ensure that they would be straight the way that they sit in the dresser.


8.
Drill holes for the new hardware on your marks:


9.
Install new hardware:


10.
Make any necessary touch-ups:
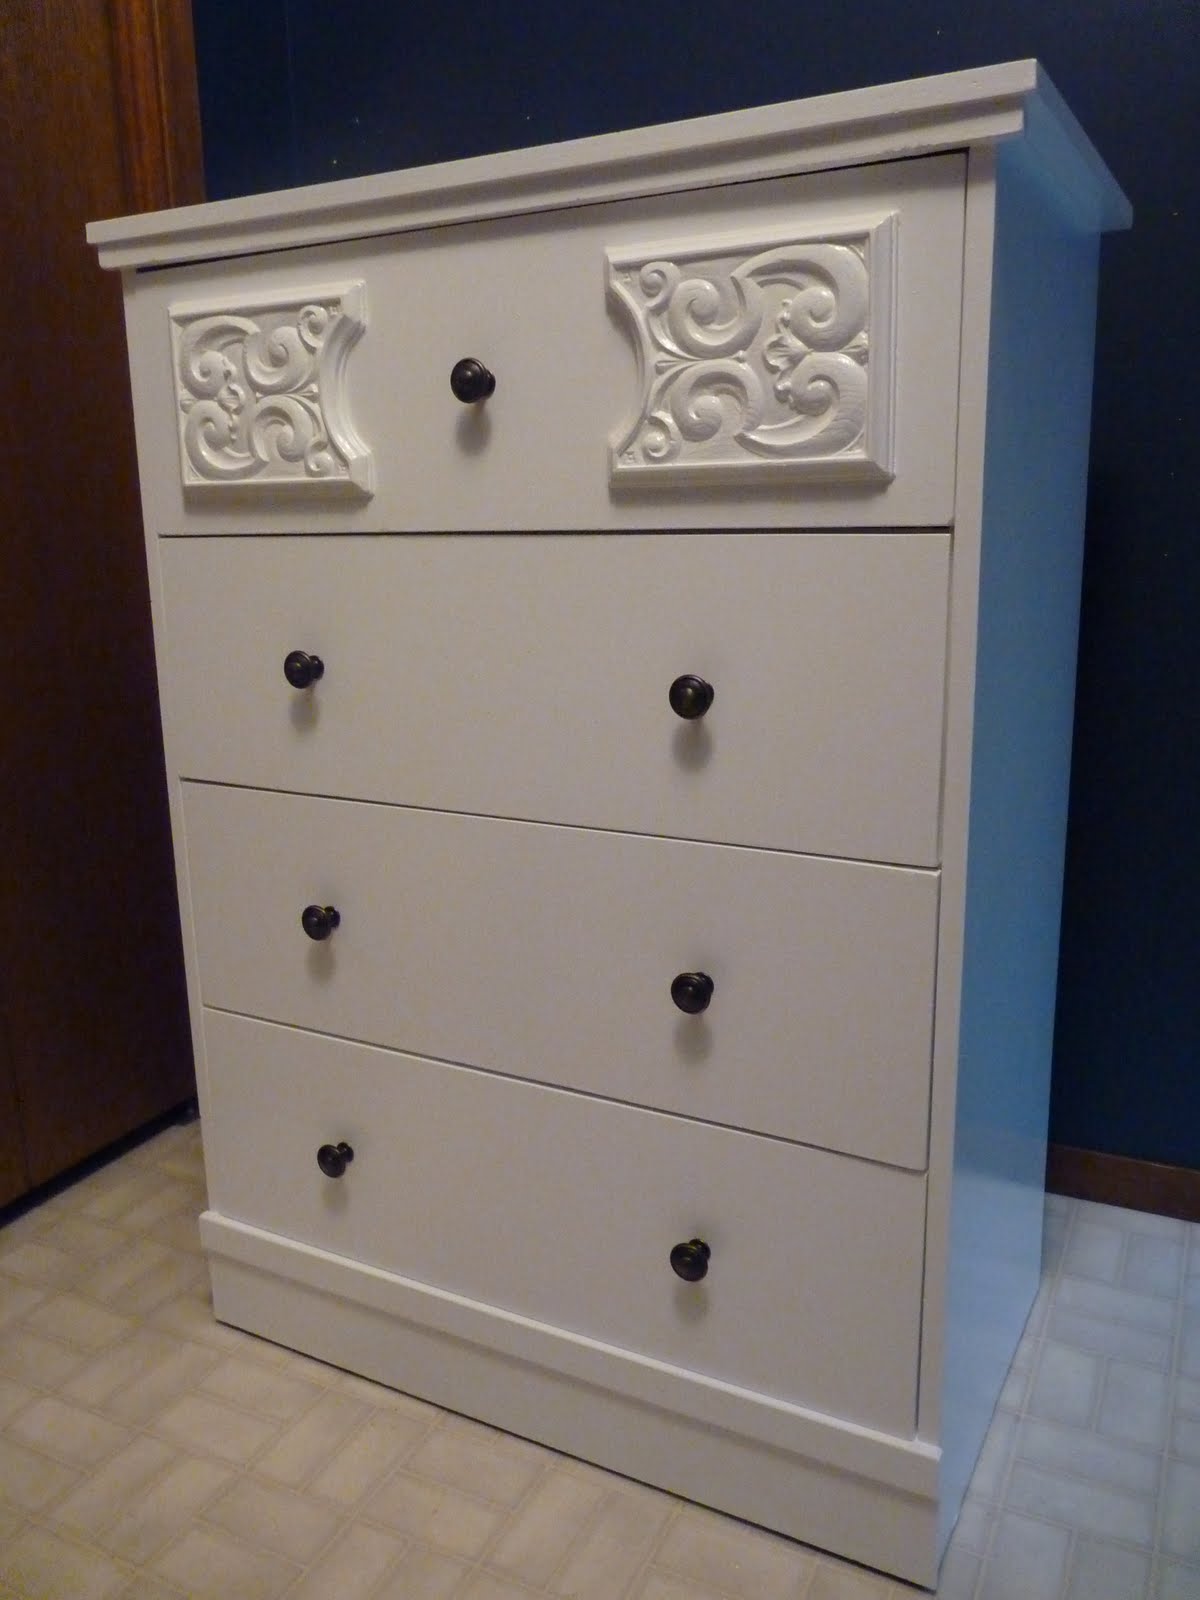

Enjoy your new piece of furniture!

Credited to the Author

Installing Molding Panels

Applying panels to the walls is a great way to incorporate line and shape into your room, and brings with it a classy and sophisticated feel.


Materials and Equipment:


-MDF chair-rail of narrow width (1-2")

- pin/brad-nailer and air compressor (I prefer 23 gauge pin-nailer)

- 1" brad nails/pins

- mitre saw

- measuring tape


- pencil

- square

- paintable caulking and gun

- carpenter's glue (optional)


Step 1:


Plan out your panels! Know where you want them to fit, and what you want them to look like. Measure your walls to determine the size (height and width of your panels) and the width in between and around your panels. Try to space them out in a way that creates as much even negative space around them as possible. Know how many pieces you need to cut and of what size.


Step 2:


Use a mitre saw set at a 45 degree angle to cut your chair-rail according to your measurements. Make sure you cut your angle in one direction at one end of your piece, and the opposite direction on the other side to ensure that when your pieces are brought together they will form a 90 degree angle.


Step 3:


Use hot-glue to join together the pieces of your panel.


Use as little glue as possible, and hold joint firmly together until glue is set.


This is especially helpful when working with smaller panels. If working with larger panels, you may need two people to move the completed panel, or put them up one piece at a time rather than pre-glueing them.


Step 4:


Use your square and pencil to mark the position of your panels on the wall as closely to your plan as possible.


Step 5:


Hold panel in position according to your pencil marks and tack in place with a 23 gauge pin-nailer (a larger brad-nailer can be used, but will leave a bigger mark in the molding). Try to place your nails in a spot where they will cause the least amount of damage to your molding, and will be the least conspicuous.


Start with the corners, ensuring that they are as close to your marks as possible. Secure the panel by placing nails/pins every 4-5 inches, use more for areas with greater gaps from the wall.


Glue vs. No Glue:


Pros of using glue:

Stronger and more permanent.


Cons of using glue:


More difficult to correct mistakes if necessary. If/when you ever want to remove the panels, it will cause more damage to your walls.


If you wish to use glue, apply a thin line of carpenter's glue to the back of t
he panel before nailing it to the wall.


Step 6:


Apply caulking to outside and inside edges, smoothing and removing excess with your finger.


Apply caulking to corner joints, gaps, and nail holes. Smooth with finger. Remove excess/ clean-up with a damp rag. Allow time to dry. Expect caulking to shrink during drying. Areas with larger gaps may require 2 or more applications of caulking before they are adequately filled.


Step 7:


Sand lightly with a sponge block for a smooth finish and paint! If you're changing your wall colour, I would reccommend painting your walls prior to applying your panels. Paint your panels while in hot-glued frames, and then touch-up after nailing and caulking.


Step 8:


Enjoy your ordinary space turned extraordinary!


Credited to the Author

Argyle-Style Feature Wall Tutorial


I know they have all kinds of different very cute wall-papers out there now-a-days, but for whatever reason I still seem to be privy to paint myself, and most particularly I've been drawn in by the idea of painted wall-paper.  I'm drawn to the idea of keeping the custom and tailored nature of paint, but adding the fabulous shapes, colours and patterns of great wallpapers.

I first put this idea to the test in my youngest son's nursery with an idea for an argyle-style feature wall that I loved.  Here's how it was done:

MATERIALS:

- 3 colours of paint
- 3-4 rolls of painter's tape (I prefer Frog Tape)
- Pencil
- Large piece of cardboard
- Measuring tape & straight edge
- Exacto knife

METHOD:

1) Paint entire room in 2 coats of your main colour (colour #1).

2) Measure the length and height of your feature wall (subtract the width of your baseboard & crown molding if you have it from the height).  I decided to do divide the height of my wall into 4 diamond shapes, and the length of the wall into 8.


3) Create a diamond-shaped stencil out of cardboard by dividing the height of your wall by the number of diamonds you want to run up it (in my case 4) to determine the height of the diamond stencil and the length of your wall by the number of diamonds you want across it (in my case 8) to determine the width of your diamond stencil. Using your straight edge and pencil draw a horizontal line on a large piece of cardboard according the measurement determined to be the width of your diamond.  Next, intersect that line in the middle with a vertical line according to the measurement determined to be the length of you diamond (you should have an equal cross).  Use your straight edge and pencil to draw the lines required to join the ends of your lines and form your diamond.  Cut out your diamond stencil using an exacto knife.


4) Starting in the corner of your feature wall, hold your diamond stencil against the wall and use your pencil to trace around it onto the wall.  Continue this until you have created a frame of diamonds around the edges of your wall.


5) This is where things get a little tricky - because walls are rarely perfectly square and even due to subtle differences here and there, it is unlikely that you will be able to use your stencil to fill in the whole wall and have everything line-up.  To get around this problem, starting from one side of the wall working towards the other side, use a length of painter's tape to form an edge from the bottom line of the diamond on the top of the wall to the top line of the coordinating diamond on the bottom of the wall.  Using the painter's tape as a straight edge, trace along the line onto the wall with your pencil.  Once you have repeated this step from one side of the wall to the other, turn around and do the same thing going the other way.  This will fill in all your diamonds!


Continue in this matter until you have crossed the whole wall and it looks like the picture below:


Then start of the other side!


Continue in this matter until you cross the wall and it looks like the picture below:


6) Determine your colour pattern as illustrated, and use painter's tape to mask off diamonds to be painted in colour #2 (make sure tape is firmly smoothed against wall to prevent bleeding).  Paint masked off diamonds in 2 coats of colour #2.  Remove tape when paint is just barely dry to the touch (about 20 - 30 minutes).  Allow 24 hours to dry.


7) Use painter's tape to mask off the remaining diamonds to be painted in colour #3 (make sure tape is firmly smoothed against wall to prevent bleeding).  Paint masked off diamonds in 2 coats of colour #3.  Remove tape when paint is just barely dry to the touch (about 20 - 30 minutes).


8) Optional - I added decorative tacks at the intersections of each of the diamonds for a finishing touch.

Enjoy your new wall-paper free feature wall!

Credited to the Author